Create e-paper calendar connected to Google
2024.2.19
2021.3.19
It is helpful to check my schedule with a calendar at any time. All I have to do is open Google Calendar on my phone or PC, but I would like to see it with less effort.
Google Nest Hub and Amazon Echo Show are a little different from what I want, and I cannot also find other devices. So I tried to create a calendar connected to Google via API using Raspberry Pi and e-paper.
Procedure
- Get my schedule data from Google Calendar via API
- Generate the image of the calendar showing my schedule
- Get the e-paper
- Display the image on the e-paper
Software
Occasionally I find the example to implement, so I also use Python.
Please check out my GitHub repository if you just want to see implementation.
Create the project directory
// create the project directory
$ poetry new my-project
// initialize configuration if the directory exist
$ poetry init
// add packages
$ poetry add google-api-python-client google-auth-httplib2 google-auth-oauthlib pillow
Install the packages to authenticate with my Google account, fetch data from Google Calendar, and generate the calendar image.
Fetch the event data from Google Calendar
Fetch data using the Google Calendar API. The basic usage of this API is described in the article below:
I would like to implement the following specification:
- Begin on Sunday and end on Saturday
- Display Sunday and public holidays in Japan in red color
- Mark the day that I have a plan
- Show the list of my schedule about the date and the detail of it in the future
An authentication file is required to connect to Google Calendar. If credentials.json file exists, authentication is required the first time the script is run. Once authenticated, token.pickle file is generated and can be used to authenticate with this file from then on.
Raspberry Pi Zero WH has low processing performance, making it difficult to open a browser and authenticate. So it is better to generate token.pickle file on another PC and transfer it to the Raspberry Pi via SCP.
Generating the image
There are some major libraries to process the image. I use Pillow (PIL) this time.
Sample implementation is published at GitHub.
connect_calendar.py: fetch the data from Google Calendarmain.py: generate the image of the calendar and control the e-paper
Note that these programs is optimized for Japanese calendar.
It is slightly more difficult to align the text. It is better to use multiline_textbbox to get the size of the outer frame of the text and align it.
How to get the e-paper
In this time, I purchased e-paper, which is relatively large in size, from Waveshare Electronics.
7.5 インチで 7,000 円弱,制御基盤に用いる Raspberry Pi に Zero WH を使うと想定すれば,予算は全て含めて 10,000 円弱です. -->

E-paper 640x384
(参考)
購入した第8世代は KT3W (Kindle Touch 3 White) で,JB 可能なのは FW 5.8.7 未満.入手したものは FW 5.12.4 ということで,普通に電子書籍リーダーを購入した人になりました(Kindle Paperwhite あるのに…).
ちなみに,ファームウェアダウングレードからの JailBreak は不可です.ファームウェアが古いときに JB していればアップデート後も使えるようですが,まっさらな状態で入れることはできません.どうしても JB したいなら Kindle を分解し,シリアルポートに直接はんだ付け等で接続してターミナル操作するしかないようです.
ハードに弱い私にそれは無理なので,結局冒頭に述べた構成で作ることにしました. -->
I prepared some devices and accessories.
- Waveshare 7.5inch HD (880x528) e-paper black/red/white (B)
- Raspberry Pi Zero WH
- microSD 16GB
- miniHDMI to HDMI Adapter
- microUSB Hub
The e-paper was delivered from Shenzhen after about 10 days when I ordered.
Waveshare の電子ペーパーは色ごとに別々のイメージを生成する必要があります.購入したものは3色の電子ペーパーなので,黒で表示する部分と赤で表示する部分を別々のイメージとして入力します. -->
Prepare the Raspberry Pi
I chose Zero WH model because high performance was not necessary. "W" means to be available for Wi-Fi and "H" means to be with the header pin. "W" means available for Wi-Fi and "H" means with the header pin.
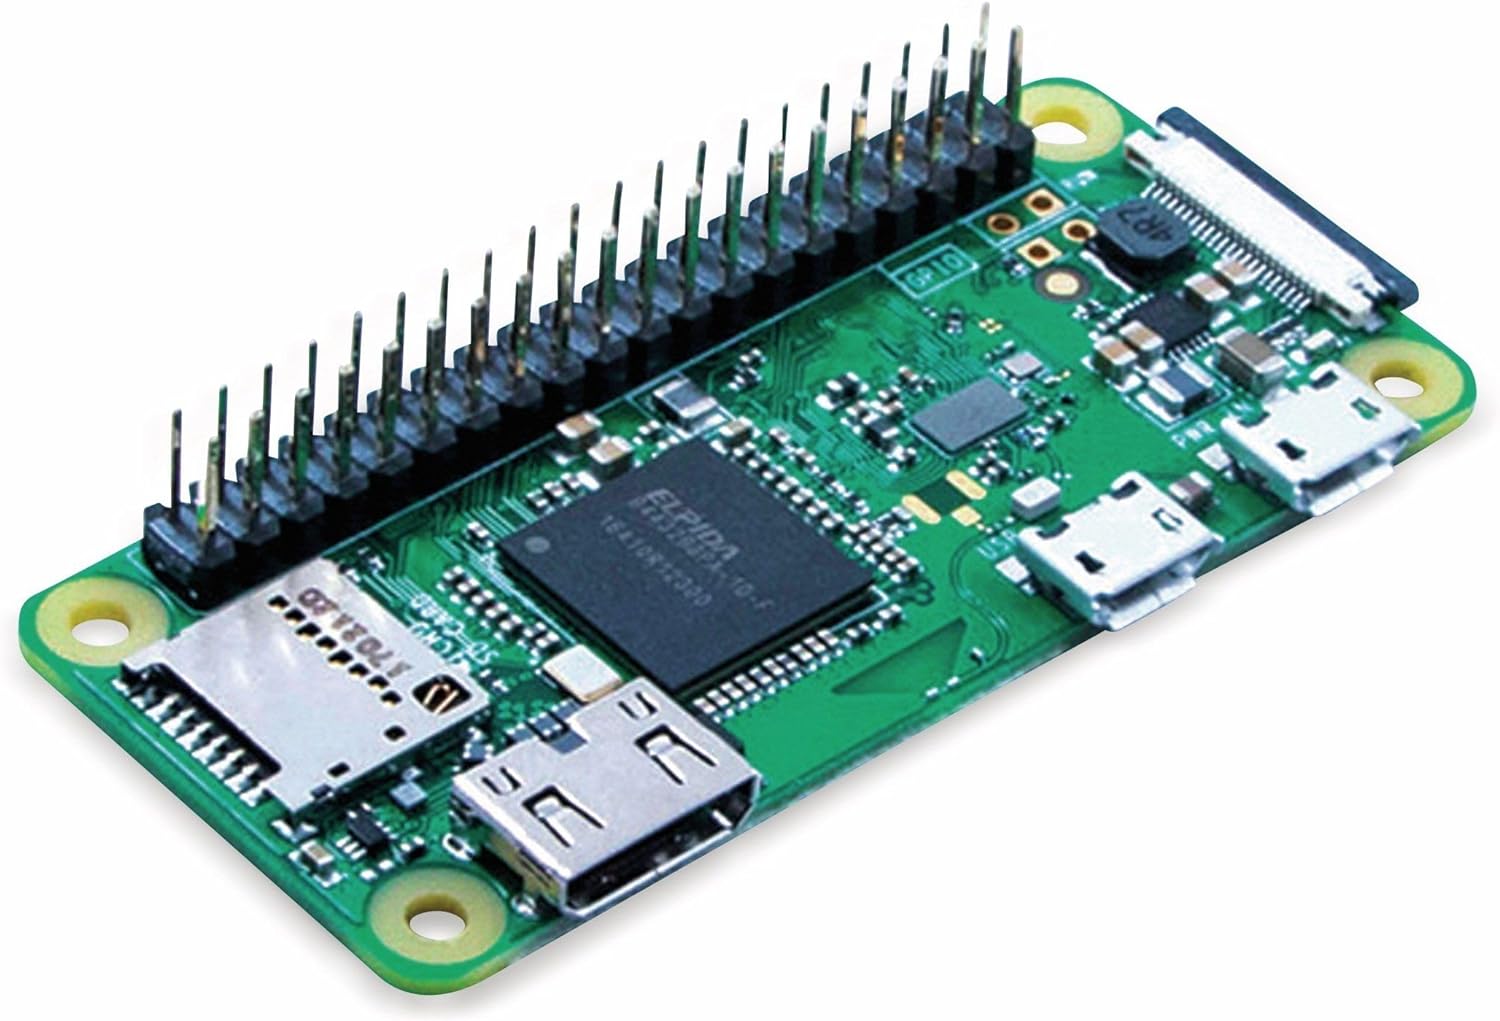
Raspberry Pi Zero WH
In order to control Raspberry Pi, it is necessary to install Raspberry Pi OS (Raspbian before) on the microSD card with Raspberry Pi Imager.
After that, insert the microSD card into Raspberry Pi and power it up to connect a power cable to the "PWR IN" port. If you would like to shut it down, run the following command:
$ shutdown -h now
Security
It is necessary to change the default configuration not to attack from out of the local network.
First, create new user and add the permissions.
$ sudo passwd root
$ sudo adduser USERNAME
$ groups pi
$ sudo usermod -G pi,adm,dialout,cdrom,sudo,audio,video,plugdev,games,users,input,netdev,spi,i2c,gpio,lpadmin USERNAME
$ groups USERNAME
$ sudo cp -r /home/pi/* /home/USERNAME
Next, delete the default user. I couldn't select the default user because it was enabled to log in automatically in the initial configuration.
$ sudo raspi-config
Run the above command and disable it using [System Options] > [Boot / Auto Login] > [Console]. When the setting is complete, reboot the device.
$ sudo reboot
After the reboot, log in with new user and password, and delete the default user.
$ sudo userdel -r pi
$ id -a pi
id: 'pi': no such user
Enable the GUI using [System Options] > [Boot/Auto Login] > [Desktop]. Note that automatic login remains disabled.
$ sudo raspi-config
Finally, reboot again.
$ sudo reboot
Enable SSH
Enable SSH (port 22) using [Interface Options] > [SSH].
$ sudo raspi-config
Check local IP address to connect Raspberry Pi from the same local network with the following command:
$ ping raspberrypi.local
Enable SPI
Enable SPI to control the e-paper using [Interface Options] > [SPI] > [enable].
$ sudo raspi-config
$ sudo reboot
Install the packages to use Python. (Almost of all was already installed.)
$ sudo apt-get update
$ sudo apt-get install python3-pip
$ sudo apt-get install python3-pil
$ sudo apt-get install python3-numpy
$ sudo pip3 install RPi.GPIO
$ sudo pip3 install spidev
It seems that it is not necessary for BCM2835 and WiringPi library when implementing the program with Python.
Test
Run the demo program prepared by Waveshare.
$ sudo apt-get install git
$ git clone https://github.com/waveshare/e-paper.git
$ cd ./e-paper/RaspberryPi_JetsonNano/python/examples
$ python epd_7in5b_HD_test.py
Implementation
The default Python is an old version. Prepare the virtual environment so as not to break the default one.
Note that it takes very long time to install some packages into Zero WH.
// install pyenv
$ git clone https://github.com/pyenv/pyenv.git ~/.pyenv
$ echo 'export PYENV_ROOT="$HOME/.pyenv"' >> ~/.bashrc
$ echo 'export PATH="$PYENV_ROOT/bin:$PATH"' >> ~/.bashrc
$ echo -e 'if command -v pyenv 1>/dev/null 2>&1; then\n  eval "$(pyenv init -)"\nfi' >> ~/.bashrc

// install poetry
$ curl -sSL https://raw.githubusercontent.com/python-poetry/poetry/master/get-poetry.py | python -
Install the appropriate version of Python using pyenv.
$ sudo apt-get install -y build-essential libssl-dev zlib1g-dev libbz2-dev \
libreadline-dev libsqlite3-dev wget curl llvm libncurses5-dev libncursesw5-dev \
xz-utils tk-dev libffi-dev liblzma-dev python-openssl git
$ pyenv install 3.9.0
Install the required package at the same time not to fail to install Pillow package.
Reference:# Building on Linux | Installation - Pillow
$ sudo apt-get install libtiff5-dev libjpeg8-dev libopenjp2-7-dev zlib1g-dev \
    libfreetype6-dev liblcms2-dev libwebp-dev tcl8.6-dev tk8.6-dev python3-tk \
    libharfbuzz-dev libfribidi-dev libxcb1-dev
Create the virtual environment under the project directory.
$ poetry config virtualenvs.in-project true --local
PYTHONPATH=.venv
Poetry installs almost all the necessary packages, but it is not included that only use in Raspberry Pi.
$ git clone https://github.com/mktia/e-calendar.git && cd ./e-calendar
$ pyenv local 3.9.0
$ poetry install
$ pip3 install RPi.GPIO
$ pip3 install spidev
Auto update of the calendar
Enable cron
Enable the logs that crontab uses.
$ sudo vi /etc/rsyslog.conf
###############
#### RULES ####
###############

#
# First some standard log files.  Log by facility.
#
auth,authpriv.*                 /var/log/auth.log
*.*;auth,authpriv.none          -/var/log/syslog
// uncomment
cron.*                          /var/log/cron.log
$ sudo /etc/init.d/rsyslog restart
Create the file to record the logs.
$ sudo touch /var/log/e-calendar.log
$ sudo chmod 777 /var/log/e-calendar.log
And, check the status of cron service.
$ sudo /etc/init.d/cron status
● cron.service - Regular background program processing daemon
   Loaded: loaded (/lib/systemd/system/cron.service; enabled; vendor preset: enabled)
   Active: active (running) since Fri 2021-03-19 14:17:29 JST; 3h 11min ago
     Docs: man:cron(8)
 Main PID: 262 (cron)
    Tasks: 1 (limit: 877)
   CGroup: /system.slice/cron.service
           └─262 /usr/sbin/cron -f
If cron.service is disabled, run the start command.
Crontab configuration
Edit the crontab using the following command:
$ crontab -e
Note that the environment variables are not used because it doesn't run the shell as a user.
First, prepare the script file.
$ touch ~/e-calendar.sh
$ sudo chmod 755 ~/e-calendar.sh
$ nano ~/e-calendar.sh
#!/bin/bash

SHELL=/bin/bash
PYENV_ROOT=$HOME/.pyenv
POETRY_ROOT=$HOME/.poetry
PATH=$PYENV_ROOT/bin:$POETRY_ROOT/bin:/usr/local/sbin:/usr/local/bin:/usr/sbin:/usr/bin:/sbin:/bin

if command -v pyenv 1>/dev/null 2>&1; then
  eval "$(pyenv init -)"
fi

cd ~/e-calendar
$POETRY_ROOT/bin/poetry run python main.py
Next, add the command to run the script every hour to the crontab.
0 * * * * /home/USERNAME/e-calendar.sh > /var/log/e-calendar.log 2>&1
With the above settings, the log is overwritten each time it is run with the above settings.
As a desk calendar
To use e-paper as a desk calendar, it would be better to use a photo frame.
7.5 インチの電子ペーパーは 2L 判の写真より少し小さいくらいの大きさです.いい感じに隙間を埋めればそれっぽく見えます.
マット紙の向きを変更すれば縦横どちらも対応可能です.横向きにして隙間を適当な画用紙で埋めたら以下のような出来になりました. -->

ちなみに,裏面に配線を逃していますが雑な感じです.埃が積もって発火しないように対策が必要かもしれません.

GitHub: mktia/e-calendar